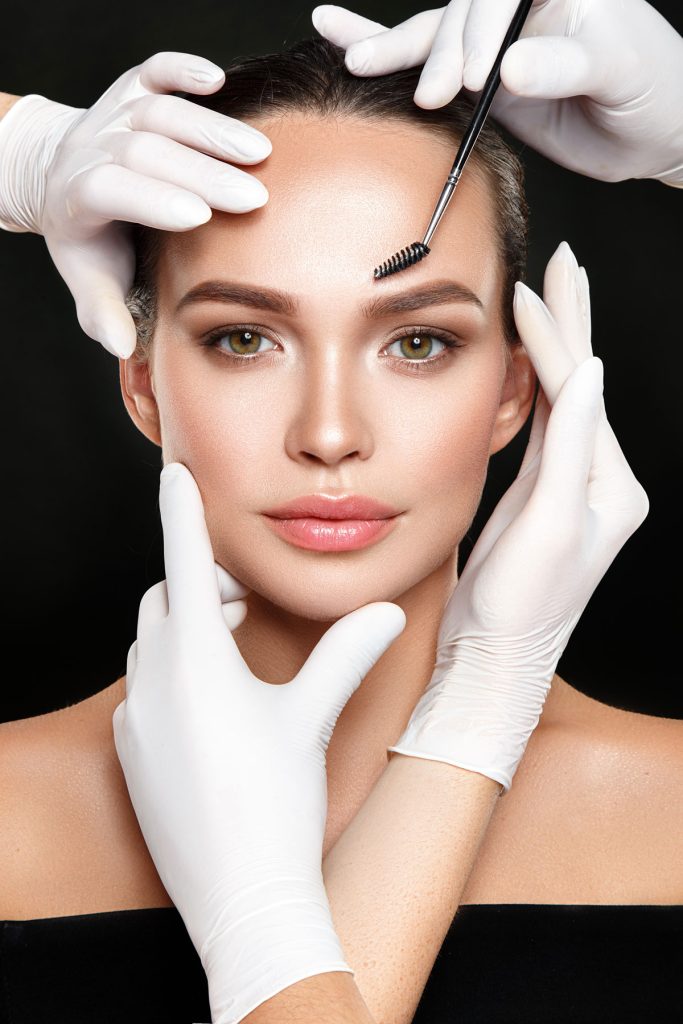
We’ve all seen the gorgeous, flawless “freshly inked” photos on Instagram. The hair strokes look like absolute perfection, the skin looks smooth, and the client looks like they’re ready to walk a red carpet.
But let’s be entirely real for a second, besties. What happens in those very first sixty minutes after the machine turns off? When the adrenaline wears off, you’re standing in the studio lobby, and you catch a glimpse of yourself in a moving mirror?
The immediate aftermath of a Nanobrows appointment can be a bit of an emotional rollercoaster if you don’t know what’s coming. Today, we are doing a raw, minute-by-minute play-by-play of the exact first hour post-procedure so you can navigate the studio checkout like an absolute pro.

Minute 0–10: The Mirror Moment & The “Adrenaline Halo”
The artist wipes away the excess pigment, hands you a hand mirror, and says, “What do we think?” Your initial reaction will likely be a mix of awe and slight shock. The brows will look incredibly sharp, detailed, and significantly darker than they will when they eventually heal. But look closer at the skin around the brows, notice something strange?
The “Adrenaline Halo”: It is completely normal to see a ring of stark, white skin immediately surrounding your brand-new eyebrows. This isn’t a pigment mistake! The topical numbing creams used during the procedure contain epinephrine, which temporarily constricts the blood vessels. It makes the surrounding skin look pale, which actually makes the brows look even darker and more intense than they really are.
Minute 10–30: The Redness & The “Weeping” Phase
As you get out of the chair and the numbing cream begins to wear off, your skin enters defense mode. Your body realizes it just underwent a very precise, very controlled cosmetic treatment, and it sends blood to the area to start the healing process.
- The Redness: The white halo will slowly fade, replaced by a localized flush or mild redness. If you have sensitive or fair skin, you might look like you have a mild sunburn right above your eyes.
- The Swelling: Swelling with Nanobrows is generally very minimal compared to older microblading techniques because the nano-needle is incredibly gentle. However, a slight “puffiness” or tightness along the brow bone is totally normal.
- The “Weeping” (Lymphatic Fluid): This is the most critical thing to watch for. Your skin will begin to produce tiny, clear beads of lymphatic fluid. This fluid is your body’s natural bandage, but if you let it sit and dry on your brows, it will turn into thick, heavy scabs that can pull the pigment out later.
The First Hour Timeline: A Quick Breakdown
| Time Frame | What Your Skin is Doing | What Your Artist is Doing / Instructing |
|---|---|---|
| Minutes 0–10 | Adrenaline halo (white skin); zero pain due to lingering numbing. | Final shape inspection, checking stroke symmetry. |
| Minutes 10–30 | Numbing wears off; mild warmth/stinging; lymphatic fluid begins to bead. | Blotting the brows firmly with sterile gauze to prevent crusting. |
| Minutes 30–45 | Localized redness develops; skin feels tight and tender. | Applying the initial medical-grade aftercare barrier or ointment. |
| Minutes 45–60 | Skin stabilizes; swelling peaks (but remains minimal). | Handing over the aftercare kit and booking your 6-week touch-up. |
Export to Sheets
Minute 30–45: The First Aid Blot & The Barrier Application
Before you even think about grabbing your purse, your artist is going to perform some essential maintenance. They will take a clean, sterile piece of gauze and firmly blot your brows.
Why the blot matters: They are lifting away that clear lymphatic fluid we just talked about. Keeping the canvas dry and clean in the first hour is the secret to a smooth, flake-free healing process.
Once the brows are blotted dry, your artist will apply your very first layer of aftercare protector. Depending on their specific philosophy, this could be:
- A specialized PMU healing ointment: A breathable, lightweight barrier that protects the open skin from airborne bacteria.
- A dry-heal shield: A specialized liquid barrier that dries clear over the strokes, sealing them completely from the elements for the first day.
Minute 45–60: The Studio Checkout Checklist
You’re finally at the front desk, ready to pay and show off your new look to the world. Do not leave that lobby without making sure you have three specific things locked down:
- The Aftercare Kit: Your artist should provide you with sterile wipes, a gentle cleanser, or a specific healing ointment. Make sure you understand exactly how many times a day you need to blot or wash them.
- The 6-Week Touch-Up Appointment: Nanobrows are a two-step process. The first appointment is where we lay the foundation; the touch-up is where we perfect the details after the skin sheds. Book it now so you don’t lose a spot in their schedule!
- Your Lifestyle Strategy: Remember that you cannot get these brows soaking wet, heavily sweaty, or exposed to direct sun for the next 7 to 10 days. Plan your gym breaks and hair-washing schedule before you drive home.
The Final Word
When you look in your car’s rearview mirror right after leaving the studio, remember to breathe. If they look a little bold, a little red, or a little intense, that is exactly how they are supposed to look. Your skin is doing its job, your artist did theirs, and in just a few short weeks, that initial intensity will soften into the most effortless, beautiful brows you’ve ever had.
Disclaimer: Aftercare instructions can vary wildly based on the specific pigment brand, technique, and climate your artist works with. Always defer to the exact aftercare packet provided by your licensed permanent makeup professional!
Are you planning your first Nanobrows appointment soon, or are you a PMU veteran who remembers the shock of that first mirror reveal? Let’s swap stories in the comments below! 👇✨
Book NANOBROWS here
Leave a Reply