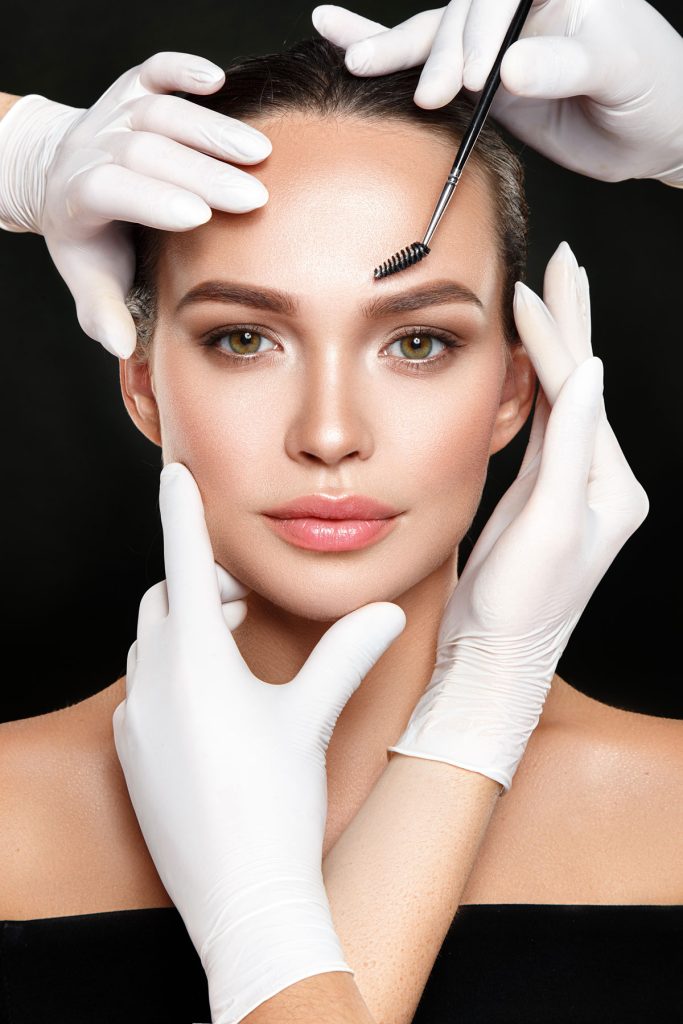
Let’s be entirely real, besties: when you sit down in that studio chair for your powder brow appointment, you’re probably watching your artist assemble their machine with a mix of excitement and mild curiosity. You see them snap in a cartridge, hear the steady, rhythmic hum, and trust the magic they’re about to work on your face.
But have you ever wondered what’s actually happening at the microscopic level? Why does your artist swap cartridges halfway through your session? Is it just for fun, or is there a genuine science behind it?
Spoiler alert: it is pure science! The secret behind that flawless, custom-tailored ombre powder brow isn’t just the pigment color it’s needle configuration. Different needles create entirely different effects, from a light, airy mist to rich, velvety density. Today, we are opening up the artist’s toolkit and breaking down the needle knowledge every PMU-obsessed bestie needs to know.
The Anatomy of a PMU Needle Cartridge
Before we dive into the specific shapes, let’s talk about how tattoo needles work for permanent makeup. Unlike a traditional body art tattoo machine, modern PMU digital machines use sterile, disposable cartridges.
Inside that little plastic tip is a grouping of ultra-fine, surgical-grade stainless steel needles bundled together. The configuration (meaning how many needles are in the bundle and how they are shaped) dictates how the pigment is deposited into the upper dermis of your skin.

1. Round Liners (RL): The Precision Architects 🎯
If you hear your artist talking about a “1-RL” or a “3-RL,” they are talking about Round Liners.
- What They Look Like: The individual needles are soldered tightly together in a circular, pointed formation, looking almost like a tiny crown or a sharp pencil tip.
- What They Do: Round liners deposit pigment in very tight, concentrated dots. They are the ultimate precision tool.
- Where They’re Used on Your Brows: Artists use round liners during the initial mapping and outlining phase to carve out the crisp, clean lower baseline of your brow and define the sharp tail. Because they pack a concentrated punch, they are rarely used to fill the entire brow (otherwise, your brows would look blocky and harsh)!
2. Round Shaders (RS): The Soft-Focus Builders ☁️
Once the crisp outline is set, your artist needs to fill in the body of the brow without making it look like a solid wall of ink. Enter the Round Shader.
- What They Look Like: Similar to round liners, but the individual needles are spaced slightly further apart in a loose circular cluster rather than a tight point.
- What They Do: Instead of a sharp, concentrated dot, round shaders deposit a wider, softer cluster of pixels. They distribute the pigment more evenly across a broader surface area.
- Where They’re Used on Your Brows: These are your go-to workhorses for the mid-body and transition zones of an ombre powder brow. They help build that smooth, medium-density color gradient so your brows look full, fluffy, and dimensional.
3. Magnum Shaders (M1/MRS): The Velvet Blend Masters 🖌️
If you want that luxurious, airbrushed, makeup-filled look without spending four hours in the studio, magnums are an artist’s best friend.
- What They Look Like: Instead of a circle, the needles are arranged in a flat, side-by-side row (often in a split configuration, like a tiny paintbrush).
- What They Do: Because of their wide, flat surface area, magnums cover more skin per pass. They lay down a soft, expansive sheet of pixels instantly.
- Where They’re Used on Your Brows: Magnums are absolute magic for the dense tails of the brow and for clients who love a bold, dramatic, filled-in makeup look. They allow the artist to achieve high saturation quickly and smoothly, minimizing skin trauma because they distribute the pressure over a wider area.
Needle Configuration Cheat Sheet 📝
| Needle Type | Shape / Formation | Primary Brow Purpose | The Visual Effect |
|---|---|---|---|
| Round Liner (RL) | Tight, circular cluster. | Outlining, defining borders, sharp tails. | Crisp, sharp, highly defined lines. |
| Round Shader (RS) | Loose, circular cluster. | Filling the mid-body; building gradients. | Soft, buildable, pixelated shadow. |
| Magnum (M1) | Flat, side-by-side rows. | Shading dense tails; full-makeup looks. | Smooth, velvety, high-coverage saturation. |
Why Your Artist Swaps Needles Mid-Session
If you’ve ever watched a procedure and noticed your artist switching cartridges three or four times, you aren’t imagining things. A master PMU artist will constantly change tools based on the specific zone of your brow:
- The Tail: Needs to be the sharpest and densest part of the brow, often requiring a tight liner or a firm shader.
- The Mid-Body: Requires medium density to look natural, usually built with a round shader.
- The Front Head: Needs to be as light and airy as possible. Here, they might drop down to a very fine single needle or an ultra-soft shader, using delicate, sweeping hand motions to create that signature diffused look we talked about in our last blog!
The Final Word
Permanent makeup is as much an art form as it is a science. The tools your artist chooses are specifically engineered to respect your skin anatomy while creating custom results. The next time you’re in the chair and hear that machine buzzing, you’ll know that every single needle swap is a calculated step toward your absolute dream brows!
Disclaimer: Professional PMU needle selection depends heavily on skin type (e.g., thick, oily skin versus thin, dry skin), machine voltage, and hand speed. Always trust a certified, experienced technician to select the proper tools for your unique skin structure.
Leave a Reply