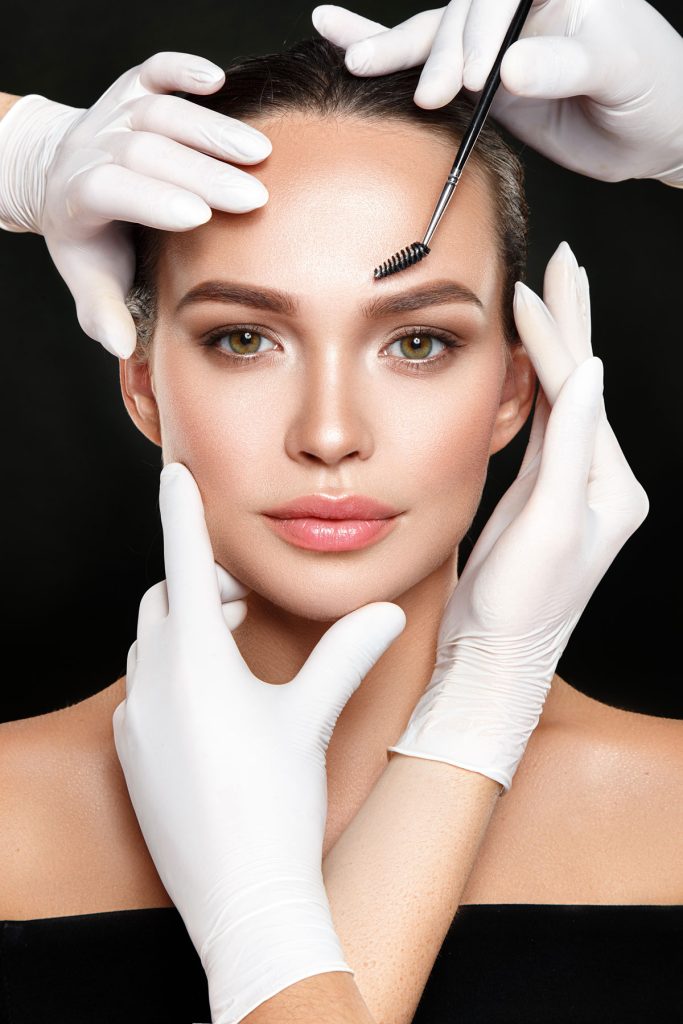
Let’s be entirely real, besties: we have all seen the dreaded “angry bird” brow. You know exactly what I’m talking about those harsh, blocky, square fronts that look like they were drawn on with a permanent marker. It’s the ultimate permanent makeup jump-scare, and it’s the number one reason why so many people are terrified of getting ombre powder brows.
But when ombre brows are done right? The result is pure magic. The signature of a world-class ombre brow is a front that is so soft, so mist-like, and so beautifully diffused that you can’t actually tell where the tattoo begins and your natural hair ends. It looks like a gentle cloud of high-end brow powder.
Achieving that perfect, pixelated gradient requires an insane amount of technical precision, specialized hand movements, and strict color theory. Today, we are pulling back the curtain on the exact techniques professional PMU artists use to build that flawless, weightless front.

1. The Science of Pixel Density: The Gradient Illusion
An ombre brow is all about a smooth transition from light to dark. To create this illusion, your artist doesn’t change the actual color of the pigment at the front of your brow; instead, they change the density of the pixels.
In the tail and body of the brow, the pixels (the tiny dots of pigment deposited by the machine) are packed incredibly close together to create a rich, solid structure. But as the artist moves toward the nose, they intentionally scatter those pixels farther and farther apart.
Insider Insight: Think of it like digital printing. If you zoom into a photo, a solid black area is just thousands of tiny dots packed tightly together. A light gray shadow is the exact same black ink, just with more space between the dots. Your skin peeking through the scattered pixels is what creates the “soft” illusion!
Technique Breakdown: Dense vs. Diffused Shading
| Feature | The Tail & Body (Dense) | The Front Head (Diffused) |
|---|---|---|
| Pixel Spacing | Microscopic gaps; high saturation. | Wide, scattered gaps; high negative space. |
| Hand Motion | Short, tight pendulum strokes. | Long, airy whip-shading movements. |
| Pigment Concentration | Full-strength pigment formula. | Often diluted with a shading solution. |
| Skin Depth | Perfect mid-dermis placement. | Ultra-light grazing of the upper dermis. |
2. The Whip-Shading Technique & Pendulum Motion
To get those pixels perfectly scattered without creating harsh lines, artists utilize a highly advanced hand movement called whip-shading or pendulum motion.
- The Pendulum Motion: The needle moves in a continuous, rhythmic rocking motion, like a clock’s pendulum. The needle only catches the skin at the absolute lowest point of the curve. As the hand rocks back up, the needle lifts out softly, creating a tapered dot rather than a hard scratch.
- The Directional Flick: For a flawless front, artists will typically shade away from the center of the face or upward diagonally, mirroring the natural growth direction of your front brow hairs. This prevents any vertical or horizontal “walls” of color from forming.
3. The Secret Weapon: Pigment Dilution
Many top-tier artists don’t use their pigment straight out of the bottle when working on the front of the brow. If they did, even a scattered pixel pattern could heal a bit too heavy.
Instead, they use a specialized shading solution (a sterile liquid used to break down the pigment concentration).
- The Formula: For the tails, they might use 100% pure pigment. For the mid-body, a 70% mix. But for that weightless, pixelated front, they might drop the concentration down to a 20% to 30% pigment mix.
- The Result: This ensures that even if the artist accidentally makes an extra pass, the color layer remains translucent, letting your natural skin tone shine through the shadow.
4. No Hard Outlines allowed
When mapping out your dream brows, the artist will draw a perfect pencil outline to ensure symmetry. However, a true master of the ombre brow knows that the outline at the front is just a ghost guide.
During the actual tattooing process, the artist will completely ignore the hard boundary lines at the head of the brow. If they tattoo right up to a crisp mapped line, it creates a box shape. Instead, they fade the pixels out before they hit the front mapping line, completely dissolving the border.
What to Expect During the Healing Process
If you just got your ombre brows done and the fronts look a bit darker or boxier than you expected, do not panic!
During the first 7 to 10 days, your skin is healing over the pigment, and minor swelling can compress the pixels, making them look solid. As the micro-flakes shed and the skin heals over, the front will soften by up to 40% to 50%. Those scattered pixels will settle into the skin, revealing that gorgeous, airbrushed mist you paid for.
The Final Word
A perfect ombre brow is a masterpiece of negative space. It takes patience, an incredibly steady hand, and a deep understanding of skin anatomy to create a front that looks like a natural shadow. If you’re shopping around for an artist, look closely at their healed portfolio, specifically zoom in on the fronts. If you see beautifully blurred, individual pixels instead of solid shapes, you’ve found a keeper!
Disclaimer: Ombre powder brow application is an advanced cosmetic tattooing style. Always ensure your chosen technician is fully certified, licensed by local health authorities, and possesses a robust portfolio of both freshly healed and long-term aged results.
Next up on the “Brow-pedia”: Why Oily Skin Types Actually Prefer Ombre Powder Over Microblading 🧬✨
Book POWERBROWS here
Leave a Reply